Getting Started
Table of Contents
Quick Start
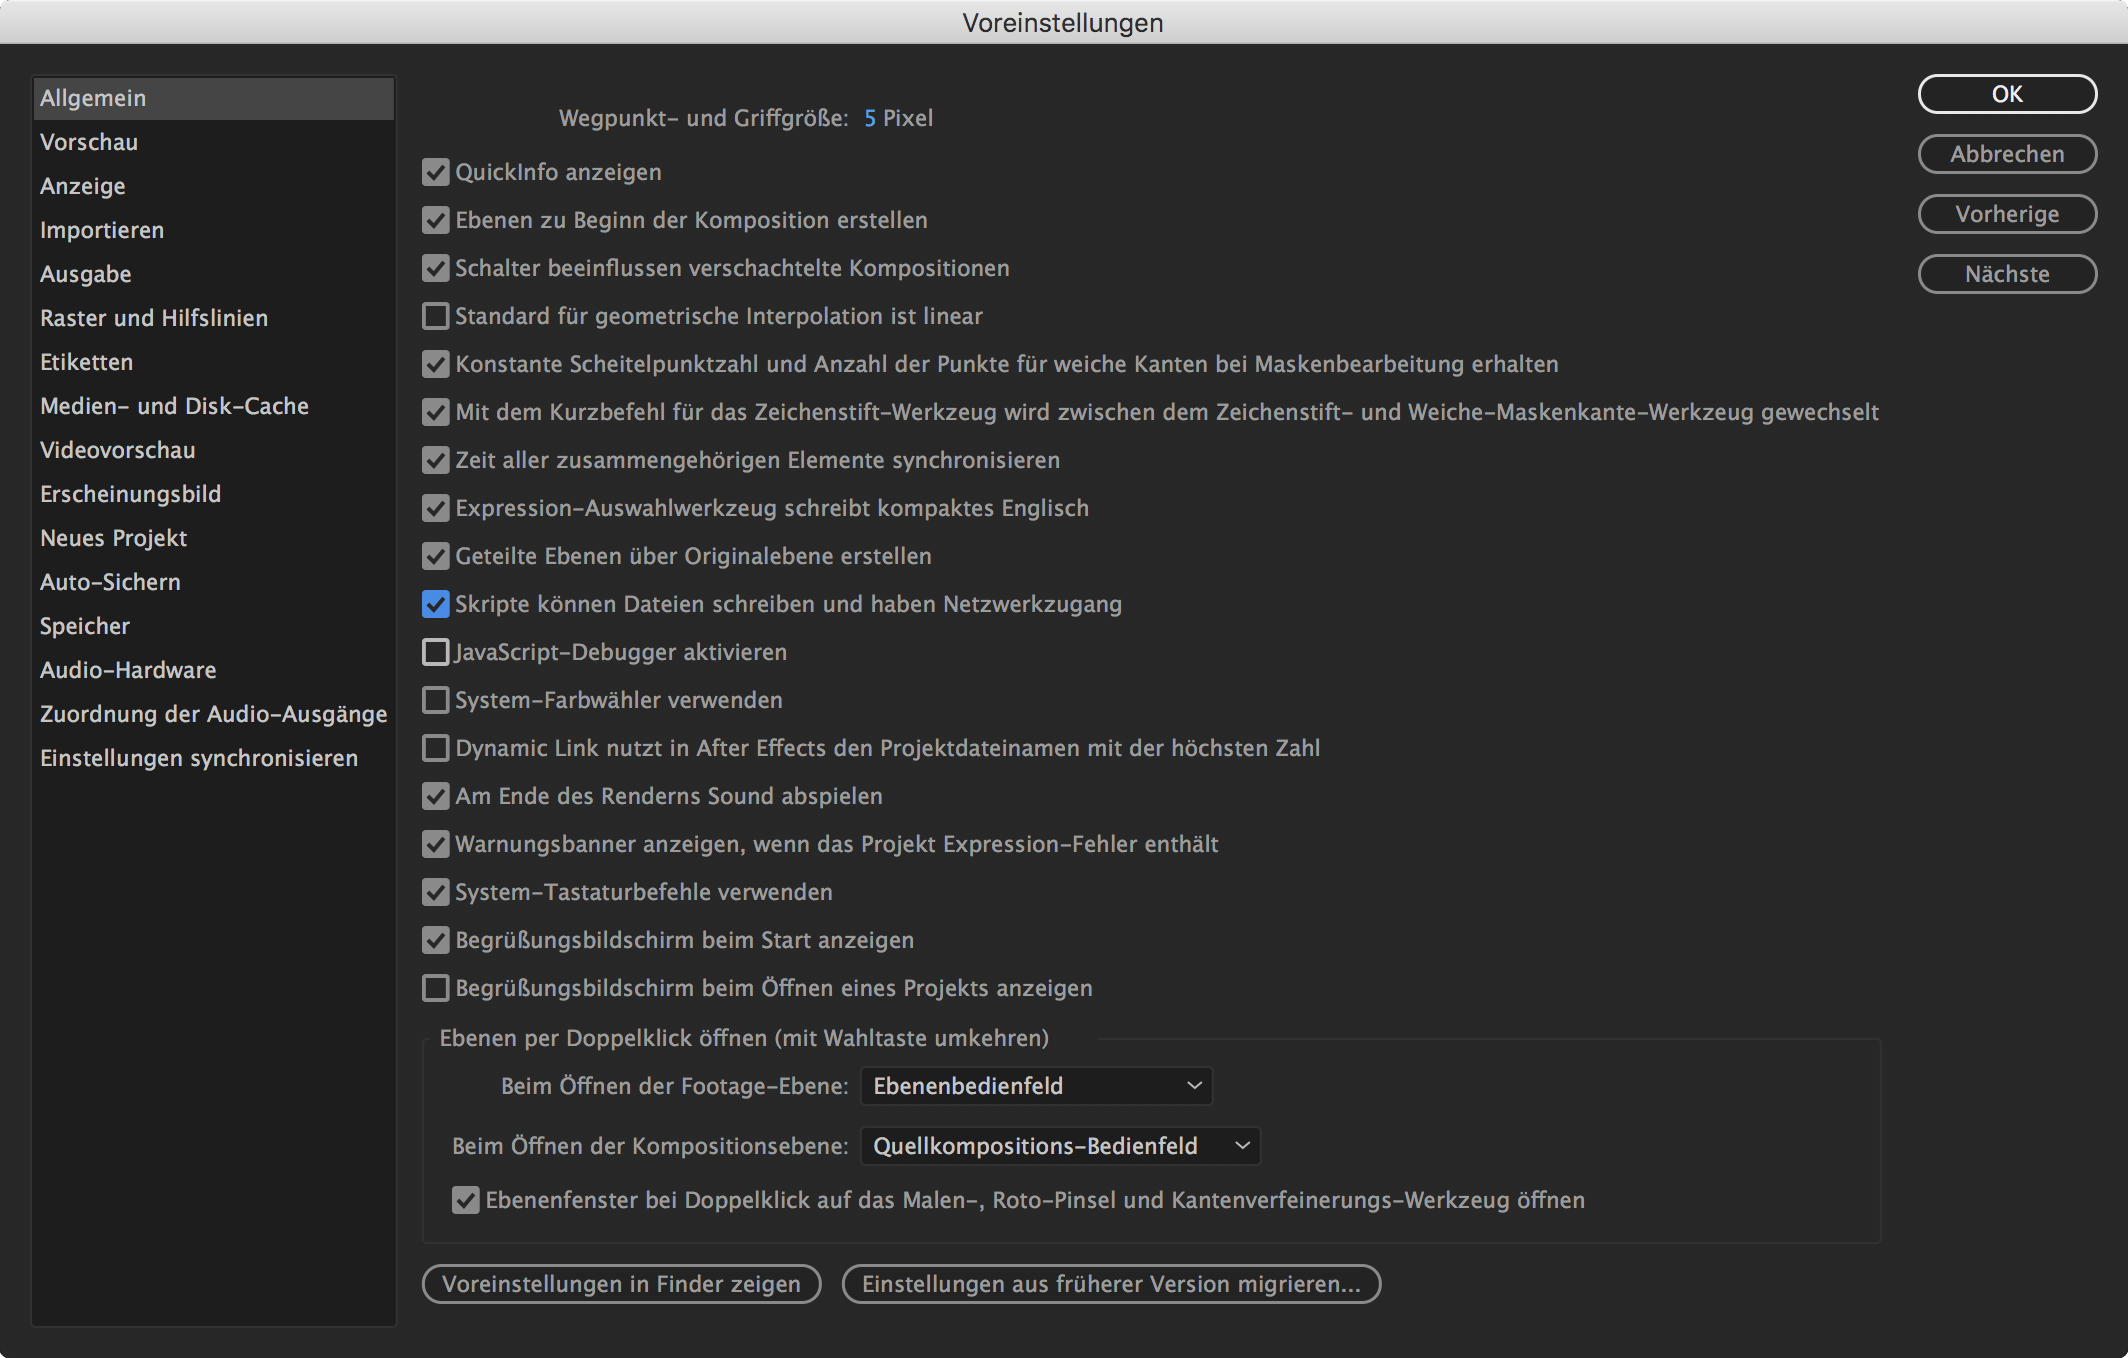
Before you can start using the BpmSlicer script you need to set the checkbox of the following setting to true.
After Effects -> Preferences -> General -> Allow Scripts To Write Files And Access Network
(Skripte können Dateien schreiben und haben Netwerkzugang)
Slice button at the bottom of the script. The selected footage layer
is getting sliced as seen in the image below:- Select a layer
- Set the slicing rate (32 bars, 16 bars, 8, 4, 1, 1/4, 1/8, 1/16, 1/32)
- Check the
Markercheckbox in case you need composition markers for all slices - Click
Slice
Creating a sliceArray
Set Bars
By setting a new value in the Bars dropdown a new sliceArray is
created which contains slices that are quantized to the selected bars
value and the bpm.
Read Composition/Layer Markers
In the markers tab, choose whether you want to read composition markers or layer markers (selected layer). By clicking the ‚Read‘ button in the Markers tab, a sliceArray is created by all markers of the composition or layer. This only works if there are at least 2 markers existing.
Read Slices from Txt File
By clicking the midi button a file chooser dialog is opened and you
get to choose a txt file with informations about all slices. Each line
of the txt file contains 4 parameter values (noteLayer, sliceIn,
sliceOut, Velocity) that represent one slice. Please refer to
Midiconverter (external) on how to convert a midifile
into such a txt file.